WordPress (WooCommerce)

Who is this for - For merchants and developers using WooCommerce who want to enable Paymob payments on their store.
Outcome - Explore, Install, and Configure Paymob's powerful WooCommerce plugin
Overview
The Paymob WooCommerce plugin enables merchants to accept payments directly on their WooCommerce stores while maintaining full control over the checkout experience and payment features. It supports multiple checkout options and advanced payment capabilities, allowing businesses to tailor the payment flow to their needs without custom development.
The plugin integrates seamlessly with WooCommerce, ensuring a smooth customer journey from checkout to payment confirmation.
Key Capabilities
- Multiple Checkout Experiences Support both Unified Checkout (hosted redirection) and Pixel (embedded checkout) to match your store’s flow.
- Easy Configuration Manage checkout settings and enable payment methods directly from the Paymob Dashboard.
- Saved Cards Let registered customers save and reuse cards securely for faster repeat purchases.
- Flexible Payment Display Show payment methods individually on the checkout page for better clarity and customization.
- Subscription Support Enable recurring payments for WooCommerce subscription products.
Steps of Installation and Activation
You have two ways to install our WooCommerce plugin. Please check them below
From WooCommerce Marketplace
From WooCommerce Marketplace
1
Place an order for Paymob Payments for free from woocommerce.com, click on the Add to Cart button, and click on the Proceed to Checkout button.
2
Download the .zip file from the My subscriptions section of your WooCommerce account.
3
Navigate to Plugins > Add New Plugin, click on the “Upload Plugin", and then browse and select the downloaded Zip File from your system. After the file has been uploaded, click "Install Now“. After the plugin has been installed successfully, click on “Activate Plugin”.
From WordPress Marketplace
From WordPress Marketplace
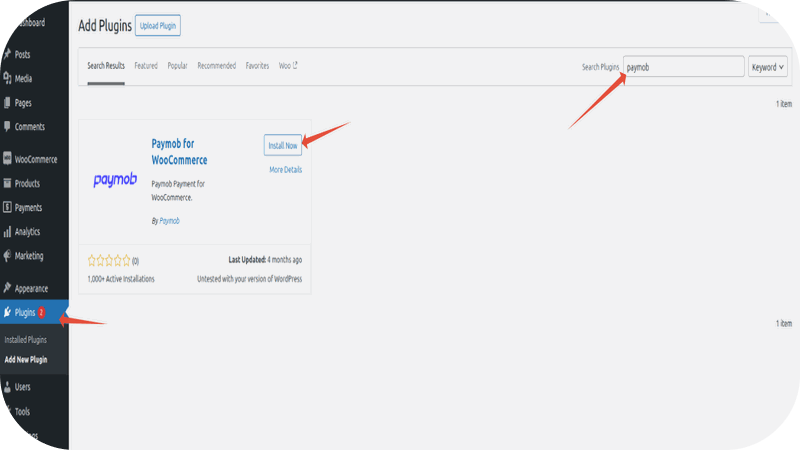
Navigate to Plugins > Add New Plugin, search for "Paymob for WooCommerce", click on “Install Now”, and once installed, click on “Activate” to activate the Plugin
Configurations and Settings
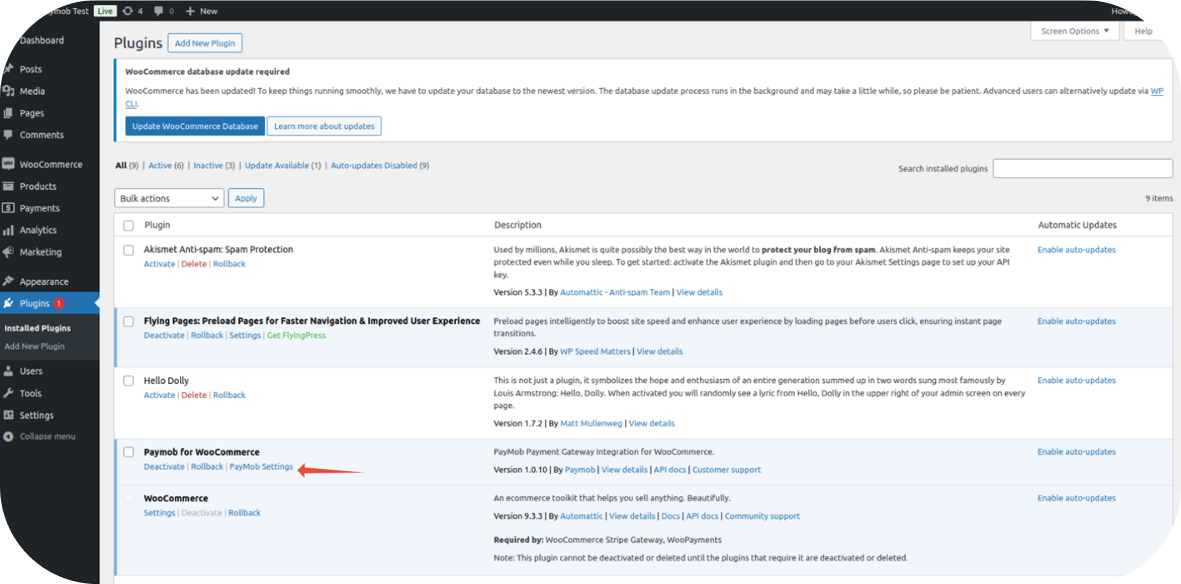
After activation, the plugin will be listed under the Plugins ⇒ Installed Plugins section as "Paymob for WooCommerce". Click on Paymob Settings
Main Configuration Page
Connect with your Paymob account
You can connect the plugin with your Paymob account in two ways. Please check them below
Connect by signing in
Connect by signing in
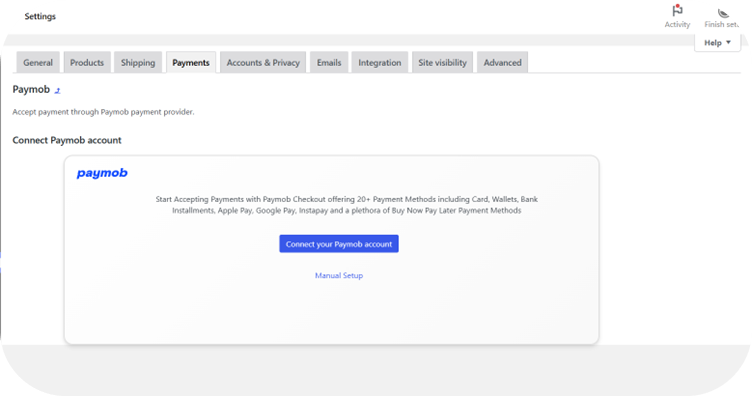
- Click on "Connect your Paymob Account" to go to the sign-in page
- Select your country, enter your username or mobile number, and password
- Verify your account using the OTP
Manual Setup
Manual Setup
- Click on "Manual Setup" and enter the API Key, Public Key, and Secret Key.
- Click Confirm to connect your account.
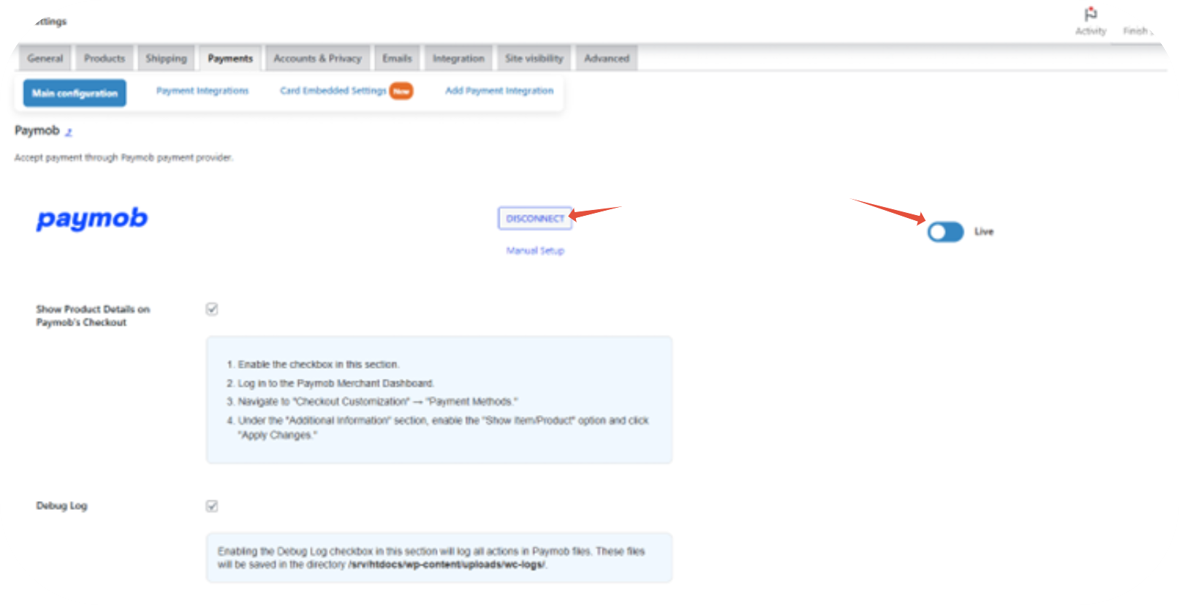
Disconnect and Change Mode
From the Main Configuration page, you can disconnect and change mode (Live/Test)
Payment Configurations Page
On this page, you can control and configure your payment methods. It displays both Live and Test payment method integrations. You can switch between them as needed.
From this page, you can do:
- Enable or disable Payment methods.
- Edit (Name, Description, and integration ID, change the logo) by pressing the Edit button beside each payment method.
- Reorder the payment methods by dragging the icon (≡) up or down.
- Update the Webhook URLs by pressing Webhool URL button.
Important notes
- The Pay With Paymob option will avail all the payment methods on one option.
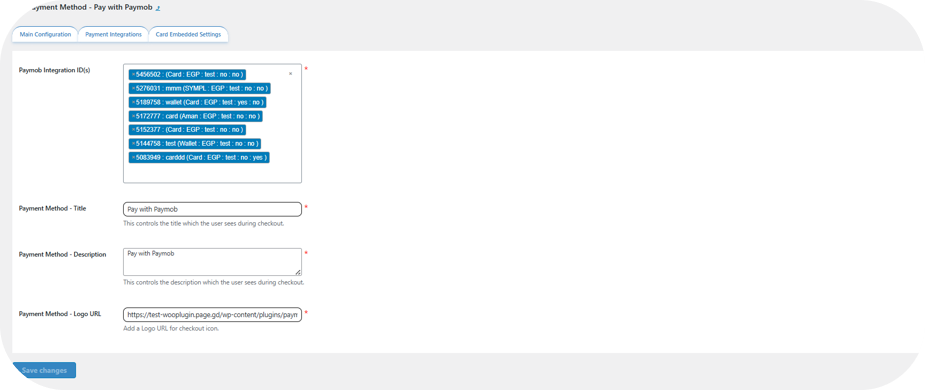
- Please change the logos only if you have your own and want to use them to avoid corrupting the default ones.
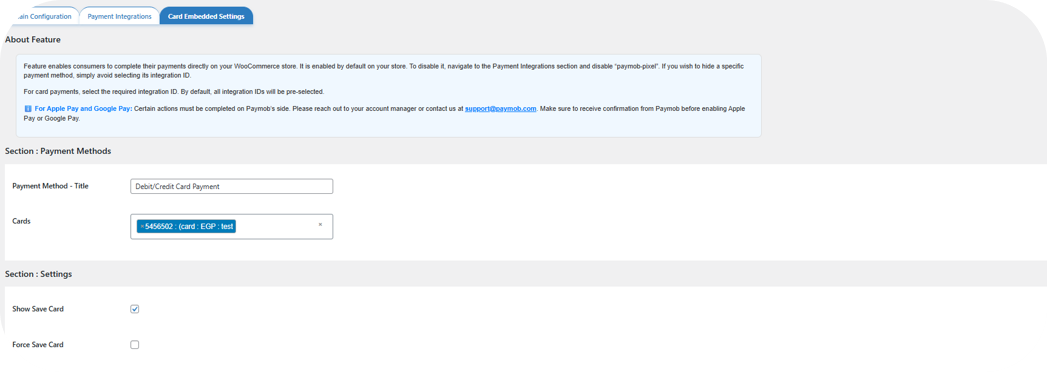
Card Embedded Settings
This feature allows users to complete payments directly on your WooCommerce store.
Main Configurations
You can:
- Change the title
- Select the Integration ID to be used for Cards, Apple Pay, and Google Pay payment seperatly
- Control the save card option in the Pixel component
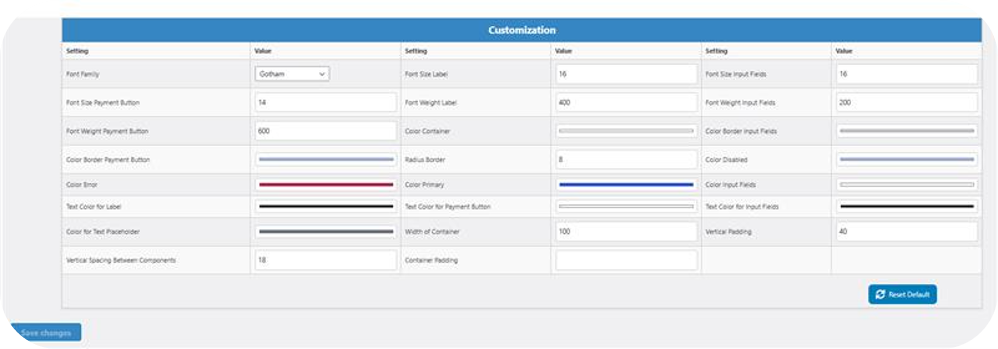
UI Customizations
You can control a lot of the UI, like (Fonts, Colors, Sizes, …)
Subscription
Who Can Use It?
Any WooCommerce merchant with the WooCommerce Subscription Plugin installed.
Configurations
From this page, you can:
- Enable or disable the Subscription feature.
- Change the title and the description of the method in the WooCommerce Checkout page.
- Configure the 3DS and Moto integrations
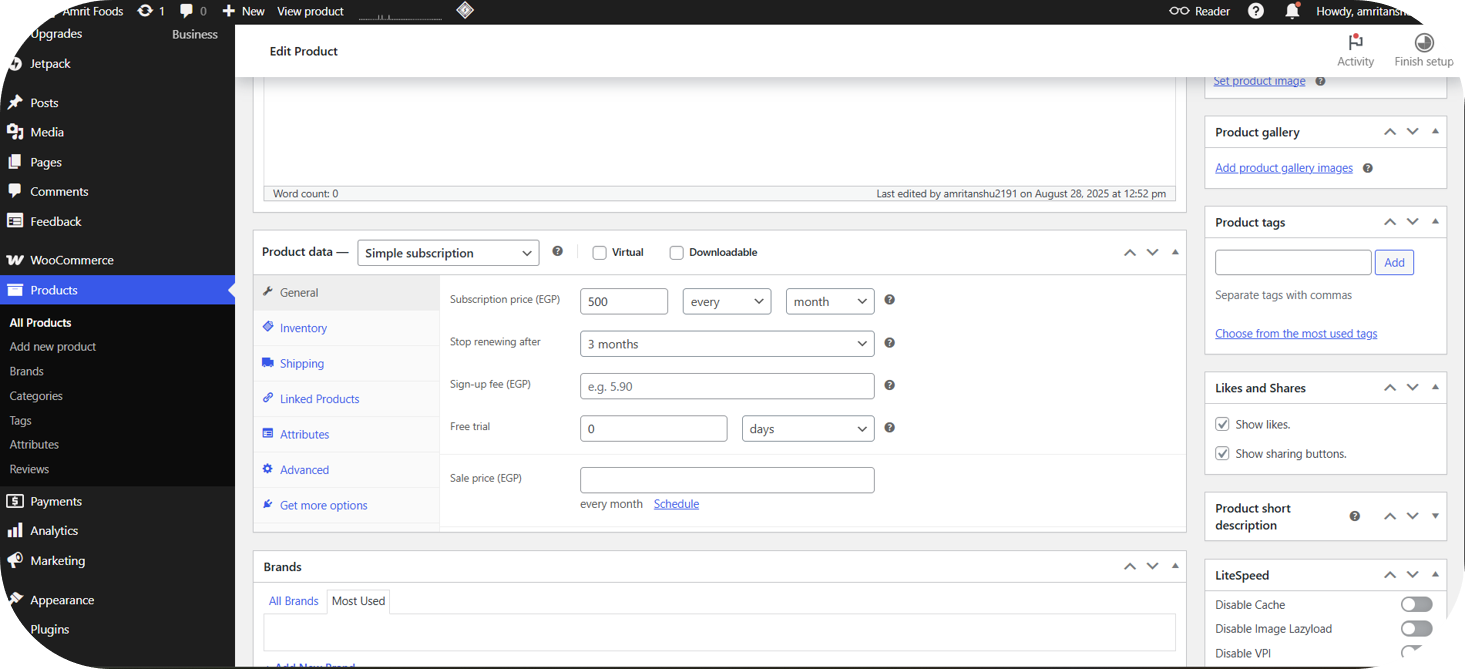
How to Create Subscription Products on WooCommerce?
You can create Simple or Variable subscription products using WooCommerce’s existing setup.
Required fields:
- Subscription Price
- Frequency
Make sure to choose the equivalent for one of the frequencies (Weekly, Monthly, Two months, Quarterly, Half annual)
Optional fields:
- Stop Renewing After = Number of billing cycles before the subscription auto stops.
- Free Trial Period = Delays the start of the subscription.
- Upfront Amount / Sign-Up Fee = One-time initial payment.
What made this section unhelpful for you?
On this page
- WordPress (WooCommerce)